
How To Clear A Clog In Your Central Vacuum (Step By Step)
By The InterVac Design Team · Updated 2026
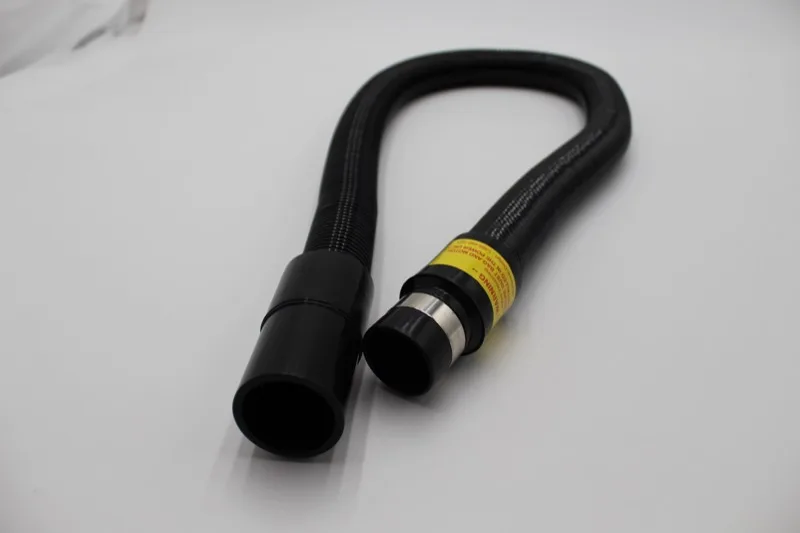
Suction is everything in a vacuum, so the moment it drops you notice. The good news is that most central vacuum clogs are simple to fix at home with no special tools, and you can usually trace the problem in a few minutes. Here is a calm, safe, step-by-step way to find a blockage and clear it, plus how to keep it from happening again.
First, Make Sure It Is Actually A Clog
The number one sign of a clog is a loss of suction at the nozzle while the motor still runs normally. Before you go hunting for a blockage, rule out the two things that feel exactly the same: a full bag and a packed filter. A bag that has been left too long chokes airflow, and a dusty filter does the same. If the bag and filter are clean and suction is still weak, then you most likely have a real blockage somewhere in the hose or inlet.
Safety First
This part is short but it matters. Before you reach into the hose, the inlet, or the unit body, power the system down completely and unplug it. Never work on a vacuum that could switch on while your hand is inside it. It takes one second to shut it off, and it keeps the whole job safe.
The Step-By-Step Fix
Work through these in order. Most people find and clear the problem before they reach the last step.
- 1. Turn Off And Unplug. Shut the unit down fully and unplug it before touching anything.
- 2. Check The Bag And Filter. Confirm the bag is not full and the filter is not caked with dust. Replace whatever needs it.
- 3. Test The Hose Alone. Disconnect the hose, switch the unit on briefly, and feel for suction at the inlet. Strong suction there means the clog is in the hose.
- 4. Clear The Hose. Stretch the hose out straight and look through it toward a light. Gently work the blockage out from the closest end. Avoid sharp objects that could puncture it.
- 5. Check The Inlet. If suction was weak at the inlet, the blockage is upstream. Inspect the inlet opening and the line behind it for buildup and clear it.
- 6. Reassemble And Test. Put it all back together, plug it in, and confirm full suction has returned at the nozzle.
Find where the suction is strong and where it is weak, and the clog is almost always sitting right at the boundary between them.
When To Check The Bag And Filter Again
If you cleared a clog but suction still is not what it used to be, circle back to the bag and filter. Heavy debris like sand and pet hair fills a bag faster than you expect, and a system that just worked hard to clear a blockage may have pushed extra material into it. Genuine replacement bags and hoses keep the system sealed and pulling at full strength, which is also the best insurance against the next clog.
How To Prevent The Next One
Clogs are almost always avoidable. Change the bag before it gets full rather than waiting for suction to fade. Avoid vacuuming large objects or big piles in one pass, since that is where most blockages start. Keep the hose free of tight kinks, and glance at the inlet now and then for buildup. If you clean a sandy space like an RV after a beach trip, those habits matter even more. Owners of an RV central vacuum who follow this short routine rarely deal with clogs at all.
If you have worked through every step and suction still has not returned, the friendly thing about an American-made system is that you can call the people who build it. Reach our team at (888) 499-1925 and we will help you sort it out.
Clog Questions, Answered
How Do I Know If My Central Vacuum Is Clogged?
Should I Turn Off The Vacuum Before Clearing A Clog?
What Usually Causes A Central Vacuum Clog?
How Can I Prevent Clogs In The Future?
Time For A Fresh System?
Answer three quick questions and we'll point you to the right built-in vacuum for your space in under a minute.